Sharing and Adding Permissions
In this example, we will use a folder named MktApps. This example folder holds the applications that will be used by all users. You must be logged on as a member of the Administrators group.
To share the MktApps folder:
- In Windows Explorer, locate the folder, named MktApps.
- Right-click MktApps, and click Properties in the context menu. The Properties dialog box appears.
- Click the Sharing tab.
- Click Share This Folder. The Share Name defaults to the name of the folder.
- To make the share name different from the folder's name, change it here.
- In the Comment box, type Shared Marketing Applications.
- Click Permissions. The Permissions dialog box appears.
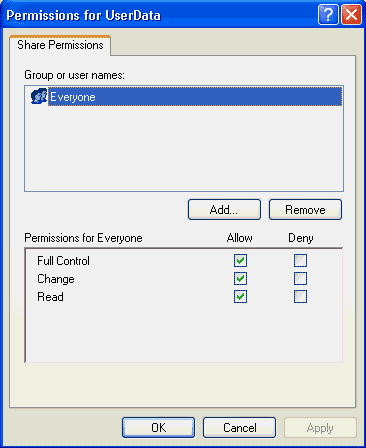
The default permissions for a new folder shows that the Everyone group has Full Control permissions.
Permissions dialog box

- Select Everyone.
- Click Remove. The Everyone group is removed.
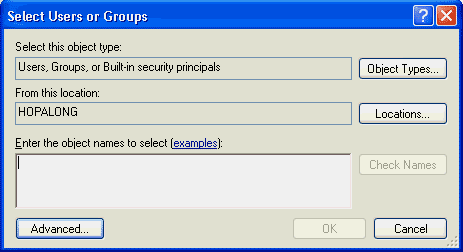
- Click Add. The Select Users or Groups dialog box appears.
You computer name appears in the From this location box.
Select Users of Groups dialog box

- Select Administrators and click OK. If the object name (Administrators) does not appear, type it in the text box. You may type a user or group name. If you do not know the exact name, click Advanced and select Find Now to search for available choices.
- Click OK to return to the Properties dialog box.
- In the Permissions panel, under Allow, select the Full Control check box.
- Click OK.
Windows Explorer changes the appearance of the folder icon by placing a hand under it to indicate that it is a shared folder.
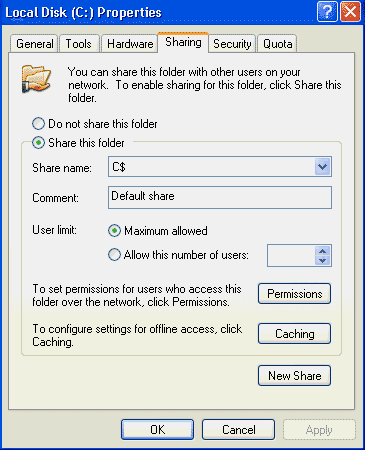
If you are sharing a drive, the process is slightly different. If a default share is already set up, the share name displays a dollar sign ($). A share set up in this way is for administrative use only; ordinary users won't be able to see or browse a drive shared in this way on the network. Consequently, if you want to share an entire drive like this on your network, you must create an additional share for it.
Sharing properties

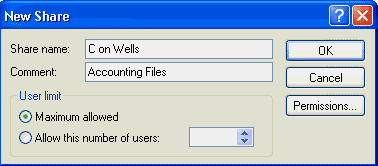
To create a new share for a drive, click the New Share button and then fill in the Share Name, any comment you want to make, and a user limit for concurrent usage (if desired). While you're in the New Share dialog box (see Figure C), you can click the Permissions button to specify who will have access to the shared drive or you can save that for later.
New Share dialog box

