How to set up
-
Add the File Services role and File Services Role Administration Tools to all cluster nodes in the Failover Cluster.
-
Open the Failover Cluster Manager management console (cluadmin.msc).
-
In the left part of the panel: expand Storage, right-click on Pools and select the option to create a new pool New Storage Pool. Next you will see the New Storage Pool Wizard.
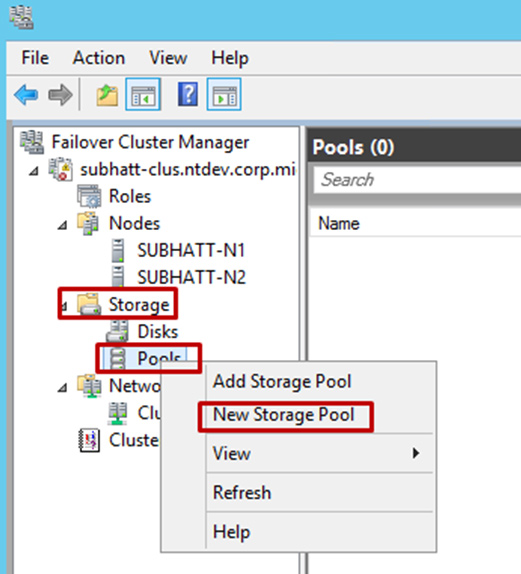
- Name the Storage Pool and select the disk subsystem available for the cluster and click Next.
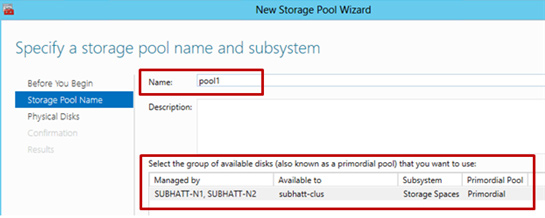
- Select the physical disks in the Physical Disks section for the new pool (remember the requirements) and confirm the creation of the pool. The pool will be added to the cluster and set to the active state (Online).

- The next step is to create a virtual disk or data space to be associated with our pool. In the Failover Cluster Manager select the desired storage pool. Right click and New Virtual Disk is our choice!
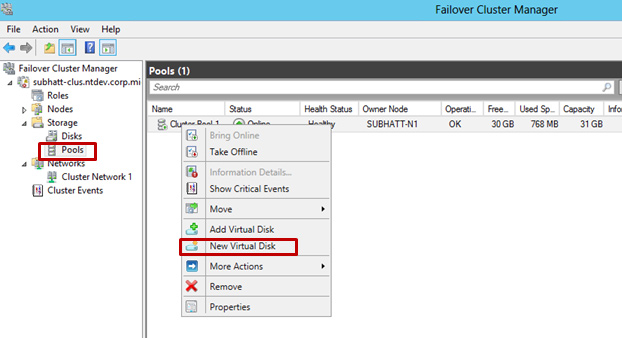
- Next, the New Virtual Disk Wizard will be launched. Select the server and pool for the virtual disk and click Next. Note that the server list contains the item that hosts the pool.

- Indicate the name of the virtual disk and its description. Click Next.
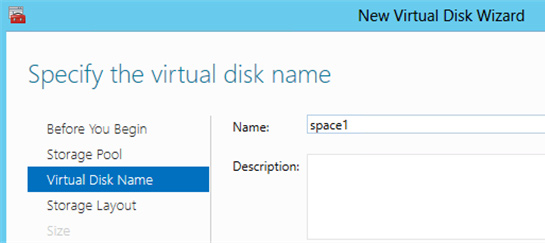
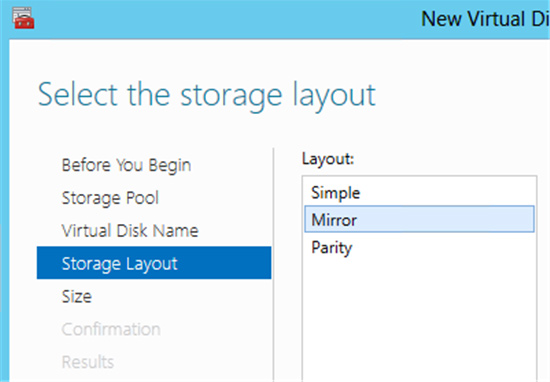
- Select the type of disk subsystem - Simple or Mirror. Remember the option Parity is not supported for the cluster implementation.
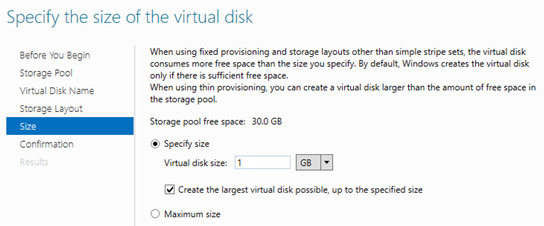
- Specify the size of the virtual disk and click Next. The disk will be created after confirmation. The New Volume Wizard launches if you do not uncheck the checkbox.
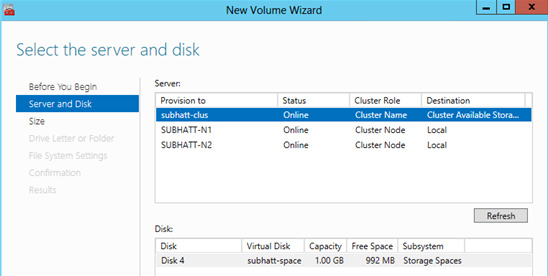
- Set the correct “Server & Disk” bundle for your configuration and click Next.
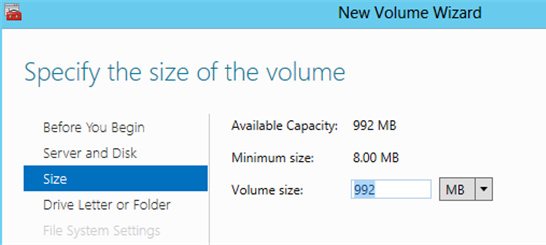
- Specify the size of the volume and click Next.
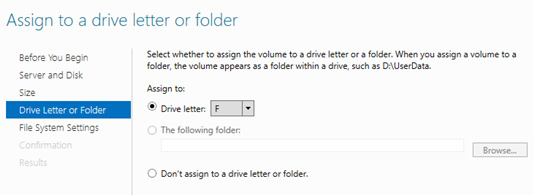
- You can also assign a letter to a new volume. Then click Next.
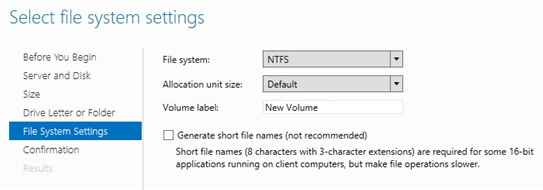
- Select the type of file system (we remember that only NTFS is suitable at the moment) and click Next to confirm the settings. A new volume will be created on top of the virtual disk and made available to the cluster.
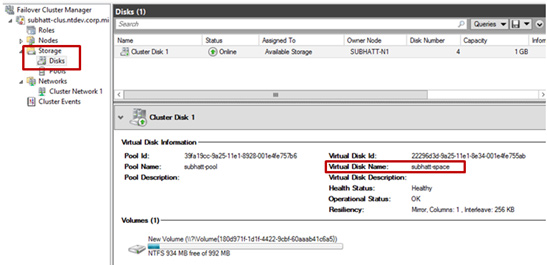
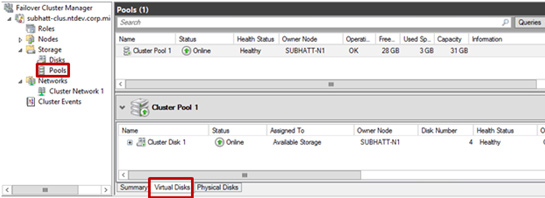
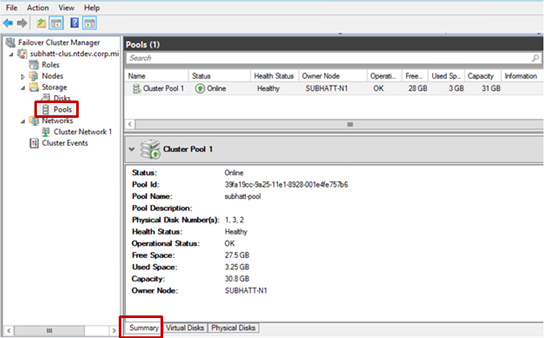
- Well, our cluster space has been successfully created! Now you can place clustered loads on top of it. To view the properties of the pool go to the Failover Cluster Manager.
